My shorty Lingerie Blue Jean’s
Ah Valentine's Day, the most romantic day of the year. The day we offer and we receive love amp gifts. Well today we're going to make a gift to be! A superb little lingerie shorty, endless and very trendy customizable. You can make in the fabric of your choice with the gallon that you like the most. You can even make several in different styles.
Supplies :
- 1m of Tencel fabric jeans
- 1m ofElastic 20mm (15.99th the roll of 25m)
- 1.50m of lace braid
- A wire reel matching
- A pins box
- A pair of scissors
- A rule / square
- A Craie tailor
- A sewing machine

Step 1: Draw and cut your pieces:
- First start by reproducing the pattern available below. If your size is not displayed you can just add or remove 4 cm.
Lingerie shorty diagram Shorty Lingerie boss
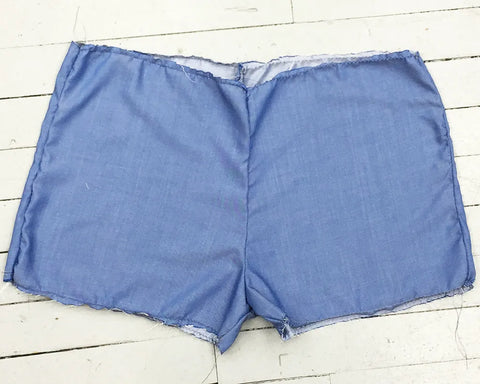
- Once your patterns are positioned on your fabric, cut your pieces at the edge of your pattern (the seam values are already counted in it). You should end up with 2 front pieces and 2 back pieces.

- Also cut the elastic commensurate with your waist tower 3cm of ease.
Step 2: Overwind your pieces:
- So that your shorts cannot be damaged, I invite you to overwhelm all your songs. If you never have a on-the-art on a zig-zag point is enough.

Step 3: Assemble your pieces:
- Start by assembling the right place on the sides of your shorty, as well as the crotch.
- Finally, place the interiors of the crotch and make a straight stitching at 1 cm from the edge.
Step 4: hem and pose of the braid:
- On the bottom of your shorts, make a 1cm hem. On this hem you will put your lace braid to customize your shorty.

Step 5: Installation of the elastic:
- On the top of your shorts, make a 3 cm hem. Make a straight seam on the whole turn of your waist, however leaving an opening of 3 cm (this will allow the elastic band to be passed).

- Using a dinner pin pass the elastic in the belt. Once the elastic is completely passed in the belt take stock to make a circle.
- You just have to close the opening of 3cm by one point in hand.

Step 6: Finishes:
- With the falls of your fabric, create a little knot that you will fix by hand in front of your shorty.
Step 6: Finishes:
- With the falls of your fabric, create a little knot that you will fix by hand in front of your shorty.

A very nice shorty for very beautiful coupons. If you realize this tutorial do not hesitate to share it on social networks with the hashtag #lesouponsdesaintpierre!
